|
EasyRoads3D V3 Manual | |
Getting Started
IMPORTANT: always check the Release Notes section for important information! Download Files From www.unityterraintools.com The zip file contains the following items: 1. EasyRoads3D.unityPackage
Download Files From the Unity Asset Store The v3 betas are part of the asset store download as a separate unity package. The _Readme file in the EasyRoads3D root directory includes more info. Alternatively you can import the beta by deselecting all files in the import window after the download has finished. Keep the v3 beta package at the top selected. It will be imported in /Assets/EasyRoads3D/. Double click that file and the v3 beta import window will appear, import all files.
Menu > Assets > Import Package > Custom Package... This will open the file dialog window. Browse to the EasyRoads3D folder and select the EasyRoads3D.unityPackage. All necessary assets will be imported in your project. A new menu item EasyRoads3D will be available in the top menu. Click on an empty area in the top menu bar if the EasyRoads3D menu item is not visible.
After importing the package the following new menu item will be added to the main menu in the Unity Editor: Main Menu > GameObject > 3D Object > EasyRoads3D > New Road Network A new game object "Road Network" will be created in the scene hierarchy and auto selected. In the Inspector you will see the
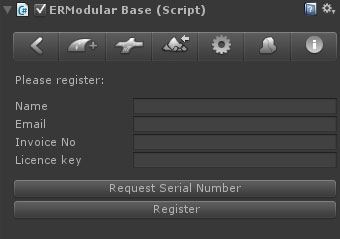
The current beta requires activation with an EasyRoads3D Pro serial number (website version). If you have used the v2 package from our website before or the demo project, no activation is required. Otherwise you will see the activation box below.
Upgrading a v2 project is not yet part of the package. Scripts are available to turn a v2 road into a v3 road. Please contact us for this.
|
|||